This article explains the key steps for building a successful campfire, as well as fire etiquette tips, whether you’re car camping or backpacking.
1. Find or Build a Fire Ring

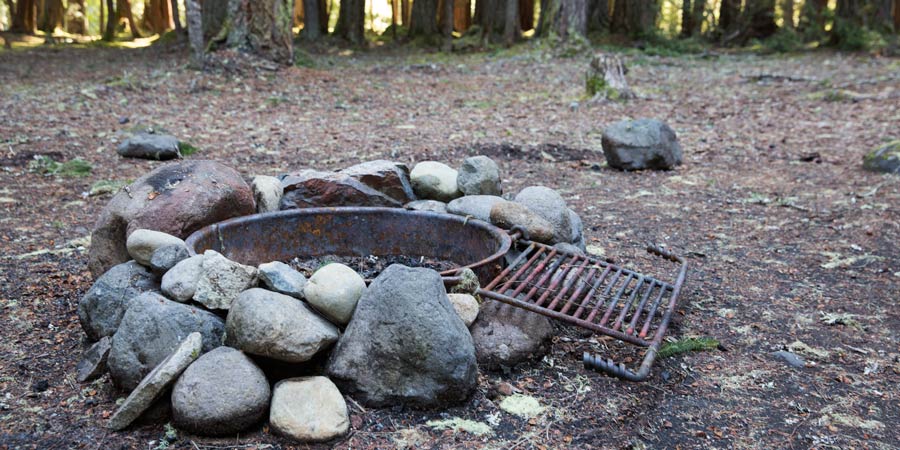
Campgrounds: Build fires only in designated fire rings, grills or fireplaces. Most developed campgrounds have some version of these. Using a fire ring will lesson your impact and keep your fire contained.
Always check with the campground operator to make sure fires are permitted. In some areas, severe dry periods can cause campfires to be prohibited even in campgrounds.
If you’re car camping in an undeveloped site, check in advance with the agency that administers the land (U.S. Forest Service, Bureau of Land Management, etc.). A campfire permit may be required.
Evaluate the site before starting a fire. If the site is brushy or has low-hanging branches, keep your fire small or skip it altogether. In dry conditions, fly-away embers could easily ignite a wildfire.
Backcountry: In backcountry areas where fires are permitted, use an existing fire ring if one has been left behind. Build a new one only in emergency situations and, if the situation permits, dismantle it when you are done. If one already exists, clean it out before you depart.
Clear away all flammable material from your fire pit. Ideally, the base of your fire should be sand or gravel or mineral soil (often found in streambeds or on gravel bars). Intense heat can sterilize healthy soil, so choose your site conscientiously.
An alternative to a fire ring is a mound fire. Using your sanitation trowel, build a circular, flat platform of mineral soil (sandy, light-colored, nonfertile dirt) about 6-8 inches high. Use this as the base for your fire. Ideally, build this platform on a flat rock. You can easily disperse the mound when you're finished.
2. Gather Fire Wood

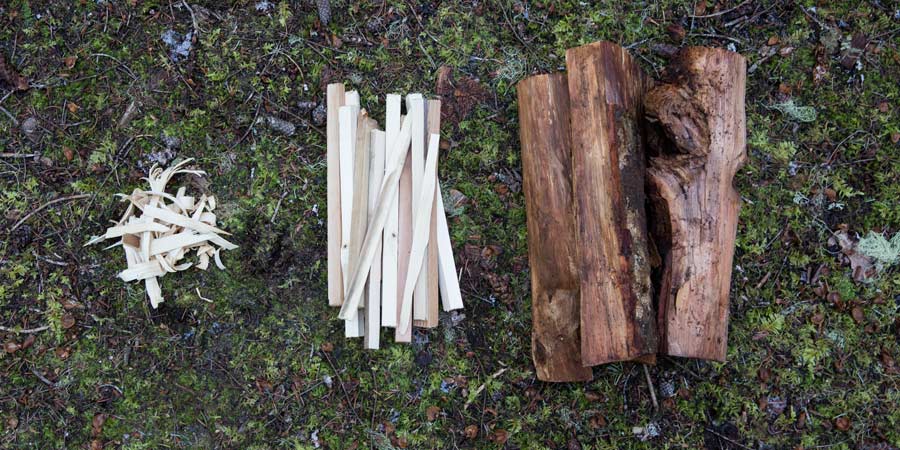
To burn a successful fire, you’ll need three types fuel: tinder, kindling and firewood.
- Tinder includes small twigs, dry leaves, needles or forest duff.
- Kindling consists of small sticks, typically less than one inch around.
- Firewood is any larger piece of wood and is what will keep your fire going long into the night.
Campgrounds: Use only local firewood. Nearby stores often carry firewood, and sometimes campground hosts offer bundles of firewood or kindling for sale.
Do not bring wood with you if you’re traveling from more than 50 miles away. Campgrounds may even ban bring-your-own firewood regardless of the distance you travel. Why? To avoid introducing troublesome insects into a forest.
Call the campground or a local ranger office in advance for information and advice.
Backcountry: If you forage for firewood, gather only downed wood far from your site. Never cut live trees or break off branches from standing trees, even dead trees. Birds and wildlife make use of dead branches and snags.
Do not gather or burn pieces thicker than an adult's wrist. This is because thick chunks of wood are rarely allowed to burn completely and are typically left behind as blackened, unsightly scraps.
Remember to follow Leave No Trace principles when gathering wood.
3. Build the Campfire

Cone: Start with a small cone of kindling around a few handfuls of tinder that are loosely piled in the center of the fire ring. Once the fire is going strong and the temperature increases, you can add larger logs a few at a time as needed.
Log cabin: Place two larger pieces of firewood parrallel to each other and with some room in between to form the base of your structure. Then, turn 90 degrees and place two slightly smaller pieces on top and perpendicular to form a square. Place plenty of tinder inside the square. Continue adding a few more layers of firewood around the perimeter, getting a little bit smaller with each layer. Finish with a layer of kindling and tinder across the top. Remember to leave space between logs so the fire can get plenty of oxygen.
Upside down (pyramid): Start with three or four of your largest logs side-by-side on the bottom layer. Turn 90 degrees and then add a second layer of slightly smaller logs on top. Continue alternating a few more layers in this manner, getting smaller as you go. Place your kindling and tinder on top.
4. Light the Campfire

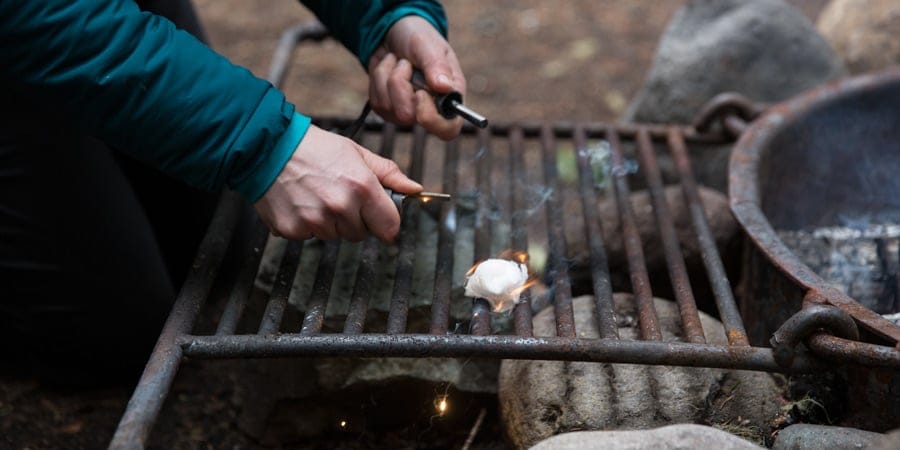
Light the tinder with a match or lighter. Using fire starter that is designed to easily ignite can help the tinder catch the flame. (Be sure to carry waterproof matches and firestarter. Fire-making materials are considered one of the Ten Essentials.)
After lighting the tinder, blow lightly at the base of the fire to provide oxygen, which will help increase the intensity of the flame and further ignite the wood.
As the fire burns, move embers to the center to burn them completely. Ideally, you should reduce them to white ash.
Shop REI’s selection of fire-starting gear.
5. Extinguish the Campfire

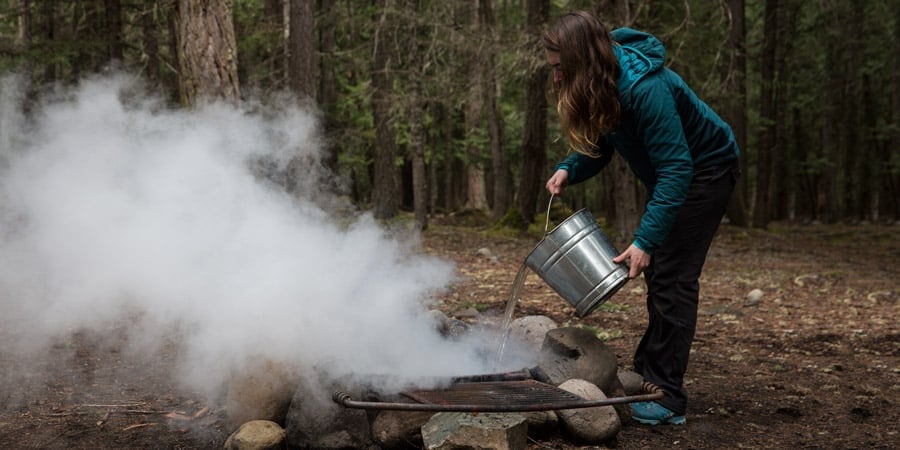
Always check with local land managers for their recommendations, and follow their steps if they provide them. Generally, though, you should extinguish your fire by pouring water on it (be careful not to stand where the steam can scald you), stirring the ashes, then applying more water. Repeat as often as needed. Ashes should be cool to the touch before you leave the site. Be utterly certain a fire and its embers are out and cold before you depart.
Note that the practice of using dirt or sand to extinguish a fire is problematic because it can insulate coals, which can become uncovered later, igniting a wildfire.
Never leave a campfire unattended!
6. Clean up the Campfire
Burn trash items only if they can be fully consumed by fire and turned to ash. Do not attempt to burn plastic, cans or foil. If you do burn something that's not fully consumed, collect the remains when the fire is out and either pack it out or put it in a trash receptacle.
When you’re in the backcountry, pack out any trash found in your pit. Extract any charcoal pieces left inside your ring, carry them away from your site, crush the chunks, then scatter the remnants and dust throughout a broad area. Dismantle any structure you might have built.


Leave a comment